I’m going to be very honest. Before I had my daughter in January, I had never even heard of breastmilk jewelry. After she was born and I discovered what it was, I thought it was the weirdest, grossest thing ever. Why on earth would someone want a piece of jewelry made from their own breast milk? How is that even possible?
But then I began the journey of breastfeeding my daughter.
Not only is that bond that’s created something magical and wonderful, it is HARD WORK. I mean – H.A.R.D. There were so many times in those first 4-6 weeks that I wanted to throw in the towel and just quit. But in the back of my mind, I never truly gave myself that option because I knew my hard work, determination, and sacrifice was what was best for my daughter. And that’s ultimately what being a parent is all about, right?!
So after realizing how amazing and special breastfeeding my child was, I suddenly understood the popularity of breastmilk jewelry. But I also found that having a piece made was EXPENSIVE! Like, crazy expensive. And call me paranoid – but the idea of sending my precious milk somewhere and trusting someone I don’t know to use it to make my jewelry piece just makes me a little nervous and skeptical. How do I know it’s really being used in my piece? I know, I’m paranoid and probably a little crazy. I accept that.
I’m also a super crafty person. So the more I researched it, they more I thought “you know, I can totally do this myself.” So I thought I’d give it a try. I made lots of batches of jewelry molds and tried lots of different methods. The one I’ve written here is by far the best method I found. I will throw in a little disclaimer though – I am not a professional jewelry maker, and I don’t plan to make this into a professional business. So I can’t guarantee how your results will turn out if you should try this method. But in my personal experience, I had really good luck with it, and I think you probably will too!
Materials:
• Clear resin (make sure the resin you’re using is clear and not cloudy or already colored)
• Resin release spray
• Mixing cups and large Popsicle sticks
• Food coloring (if you want a colored piece of breastmilk jewelry)
• A few ounces of your milk!


Directions
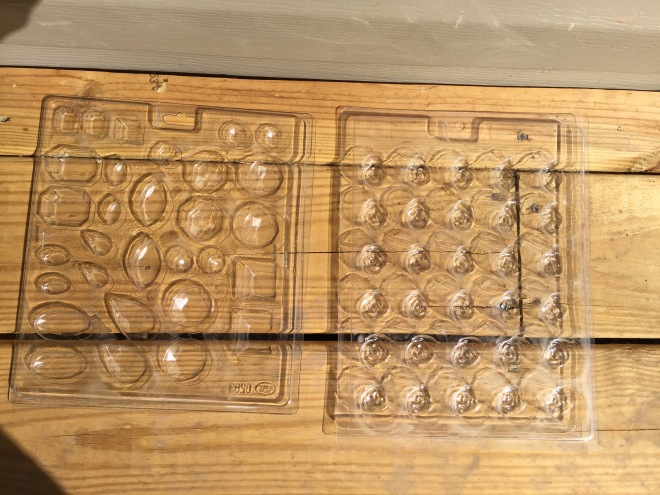
1. Coat molds thoroughly with resin release spray, let dry completely and repeat so it’s coated twice. (I say mine on my porch in the sun to dry faster, but I still waited about a day total for both coats).
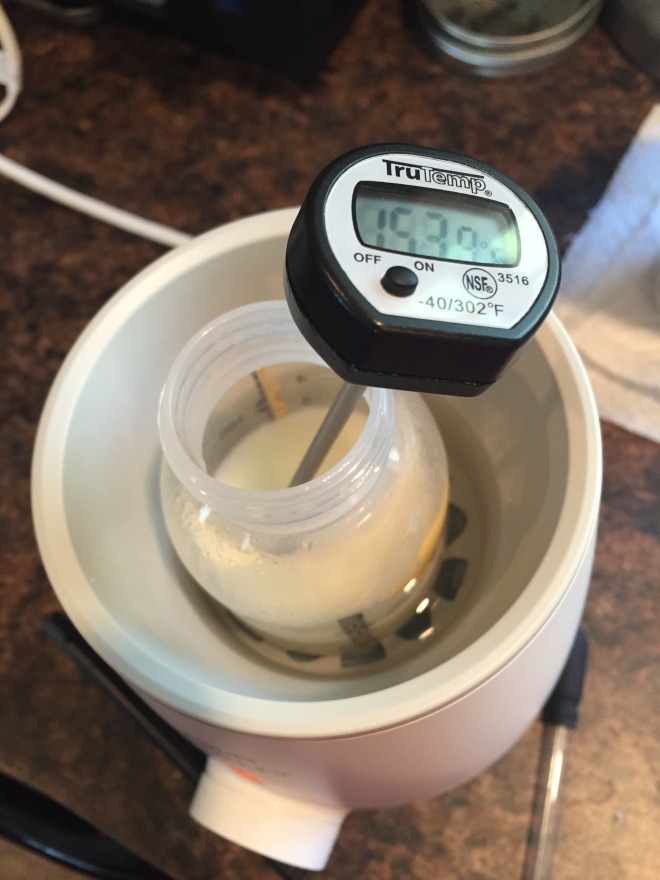
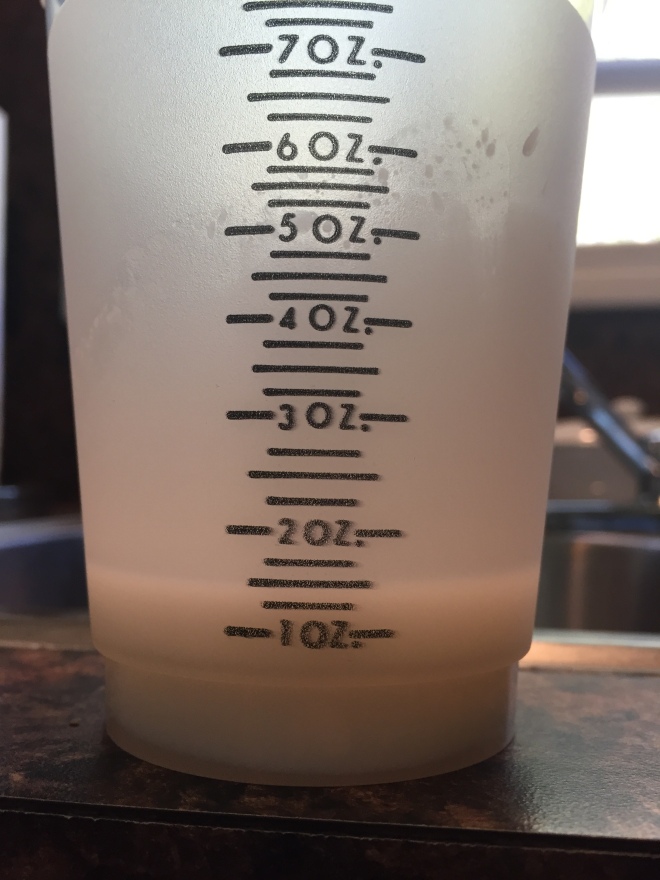
2. I started with about 3 ounces of milk. This milk was pumped about 2-3 days ago and refrigerated, so I had to swirl it and get it mixed real good. I also scalded it in a bottle warmer to help kill some of the lipase and other enzymes in the milk. I let it get to a little over 150 degrees, and then let it cool back down some so the hot temperature wouldn’t melt my plastic cups or molds.
3. While the milk was scalding and cooling, I prepared the resin according to the manufacturer instructions. Mine was a 2 part epoxy mix, so I mixed about half an ounce of each part of the mix so there was about 1 ounce total. Mix very thoroughly.
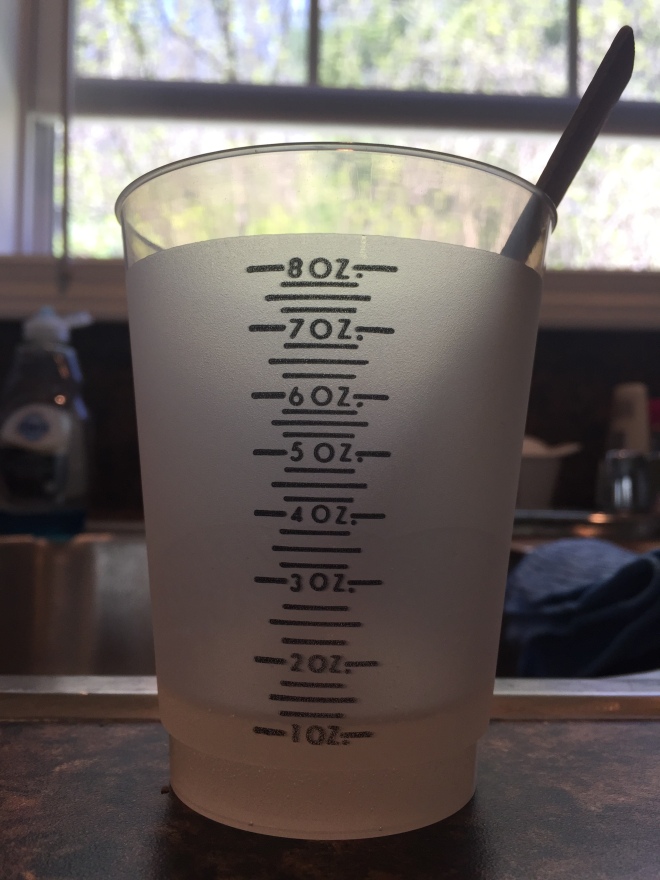
4. Once the milk was cooled enough to work with, I added about a half ounce of milk to the ounce of resin, making the total mixture about 1.5 ounces. Mix the milk VERY well. This step is critical. You want it mixed so that it starts to look and have the consistency of Elmer’s white glue.

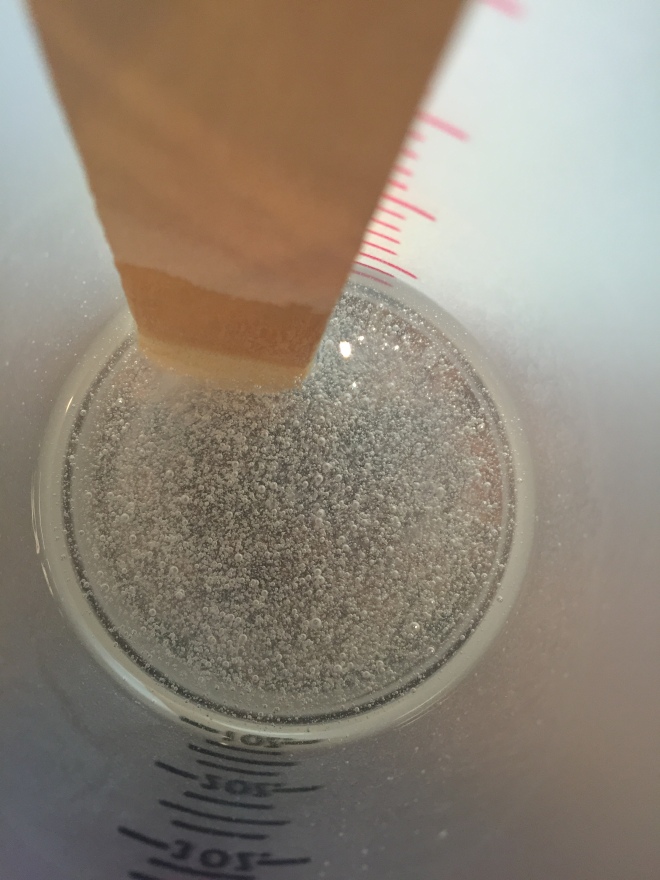
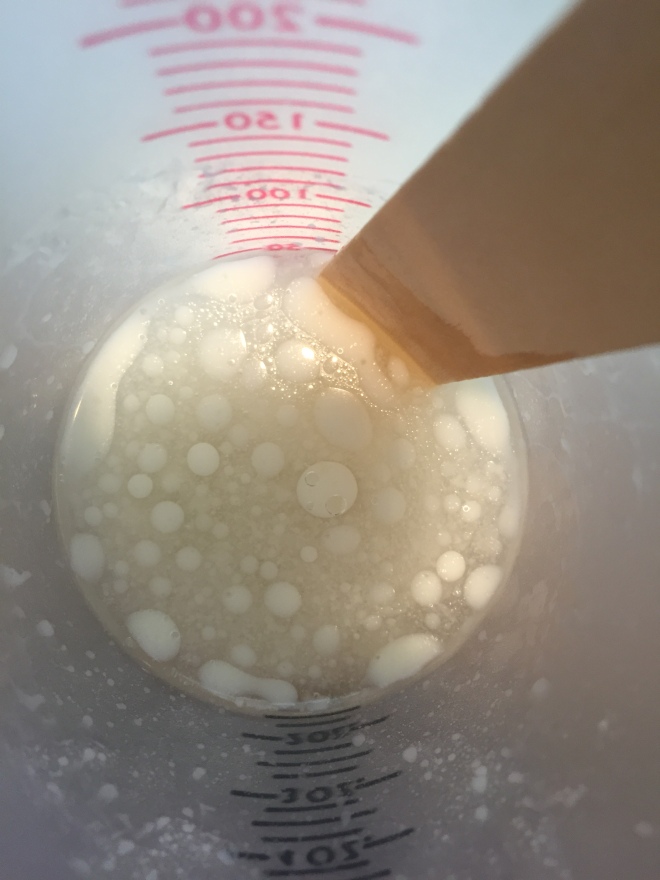
If you haven’t mixed it enough, the milk will sort of bubble up and separate from the resin, like in this picture.
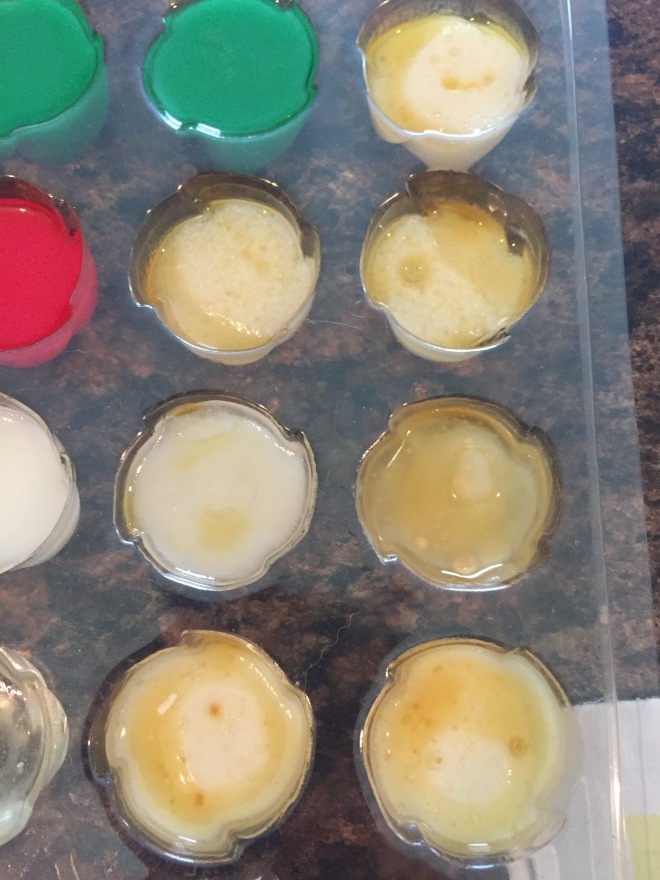
This separation of the milk and resin will ultimately destroy your jewelry piece if you pour it in the mold like this. It will brown and look really gross within a matter of a day or two, like this:
5. Once your resin/milk mixture is the color and consistency of glue, you’re ready to pour into your prepared molds. Fill almost to the top, but don’t overflow and add too much or your piece will not have a smooth flat back.


If you do accidentally overfill your mold, you can carefully use a paper towel and toothpick to help remove the excess. Also, make sure there are no air bubbles in your mold. If there are, carefully pop them with a toothpick, if you leave them in the mold, the trapped air will cause your piece to discolor and brown probably within a day or two and will look like the ones in this picture.
6. Allow the molds to sit flat and undisturbed for 3-5 days. If it has a slightly gummy texture, it’s fine – just remove from the mold carefully.
7. After you’ve removed from the mold, set aside and mix a new batch of resin WITHOUT adding milk. Using a paintbrush, add a few coats of the clear resin until the jewelry piece is covered on all sides except the flat back. You want to create a seal/coating around the piece to give it a final clear coating and make it harden like a bead instead of staying gummy-like. After the front and sides have set up, make sure to coat the back of the piece using the same process.
If you’re making a piece that you want colored, I just used basic food coloring as my dye. Follow all the steps as listed above, but when you add the milk to the resin, also add drops of whichever color you want. Add only a drop or two for a lighter pastel shade, or more drops for a darker, bolder color. Keep in mind that your white milk will naturally make the color lighter also. So for example, if you want a bright red piece, you’ll need to add quite a bit of red coloring because if you only add a drop or two to the white milk/resin mix, you’ll end up with a pink piece. Mix your drops of colors to customize and create colors using those primary colors that come with the food coloring box.


I even created one rose mold with a blue swirl design (the middle rose of the 3rd row) which looks like stone when you look at it from the underside of the mold – and another one with red swirl which I think is going to turn out beautiful (the very last rose in the 4th row). Mine haven’t fully set up yet, so I can’t get a picture just yet of those, but I can post an update when they’re fully set up.
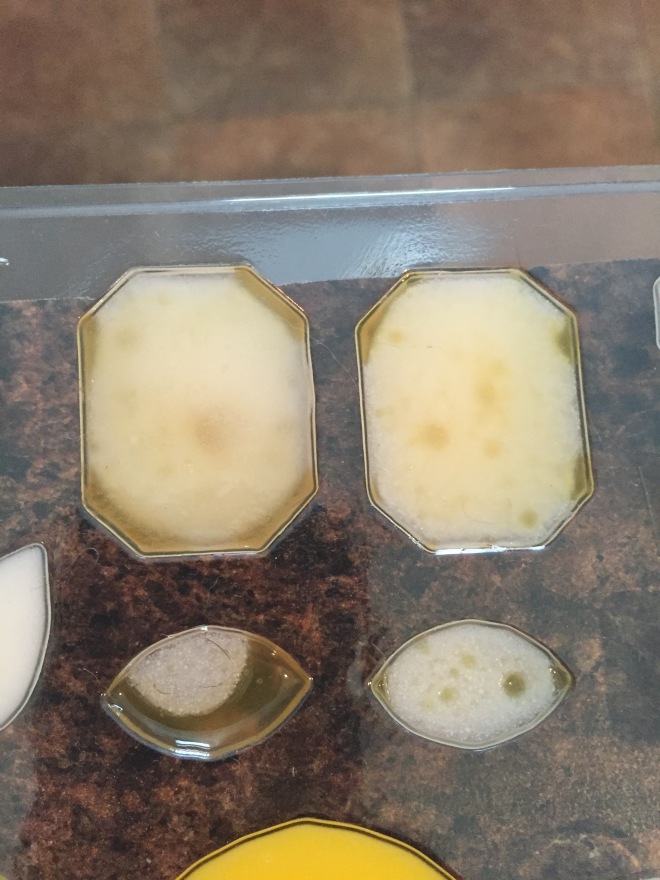
The first batch of jewelry molds I made using this method turned out beautifully! The only reason they ended up not working was because I did not use the resin release spray on the molds prior to pouring the milk resin and allowing them to set up. So I couldn’t get them out of the molds without destroying them. But the colors all turned out great and the milky white pieces that were mixed correctly hadn’t turned or discolored after nearly two weeks. Obviously these are not professionally done commercial pieces of jewelry, so I cannot guarantee that they won’t discolor over time – but I suspect if they do discolor, it would only be to a slight ivory type color. This method was used by another lady I came across and her pieces hadn’t discolored after 3 years, so I’m hopeful that mine stay in good shape as well! Again, I am not a professional jewelry maker and every person’s piece will be different because our breastmilk is always different and changing! But how cool would it be to be able to create and commemorate your own breastfeeding journey with a custom jewelry piece that you made yourself?!?!
If there are any questions or comments, please feel free to message me! Good luck creating your own breast milk jewelry!
